I think I may have mentioned it before, but I’ve built an 18 space rack. It took a while to complete, and I’ve finished it over a month ago, but since then I’ve been wasting a lot of time finishing (I’ll get to that later).
This video is a good place to get started. Even if you don’t follow their plans (I didn’t), it’ll at least give you an idea as to how it should be done.
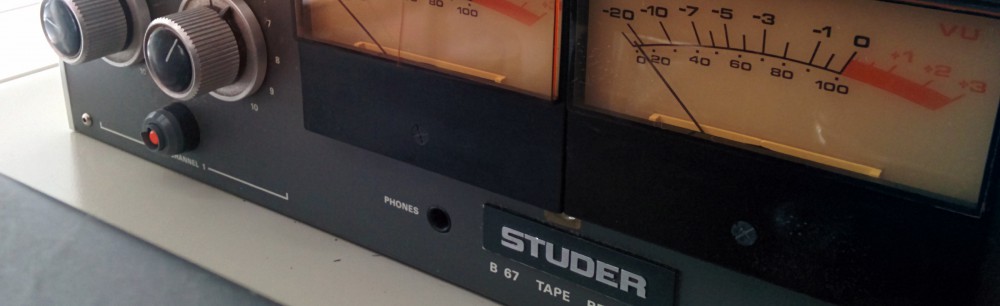
Here’s what mine ended up looking like:


I used 3/4″ Baltic Birch plywood, and all the joints are rabbeted as you can see from the pictures. There are three aprons – two on the back (top and bottom) and one on the front. The aprons are all 19.875″ (19-7/8″) long and 3/4″ thick, but their heights are different: The front is 2″, the bottom back is 2-3/4″, and the top back is 2″. I used the birch for everything except for the rails (see below).
Top to bottom the rack is 35″ tall, and the opening on the front is 32.25″ tall. This is slightly larger than 18U. The way to figure out the opening is using Pythagoras Theorem. One side is 3″, another is 33″, and the hypotenuse (the diagonal opening) can be figured out from there. The angle of the slant can also be figured out using inverse sine, cosine, or tangent, but it isn’t necessary to know if you don’t care to know the angle!
As the pictures show, the front of the rack is slanted. I made the top 16″ deep and the bottom 19″ deep. The length of the diagonal can be figured out with Pythagoras Thereom, where one side is 3″, another 33″ The angle can be figured with a trapezoid calculator, but it’s also not really necessary to know. The bottom front apron is straight and not angled.
For the rails I used White Ash. I got a piece that was 7/8″ thick and almost 3.5″ wide. I cut it down the middle to make the two rails. Maple would work also. Anything that really hard and durable would be good. Some people use metal rails. I prefer wood, especially since I don’t want any ground loops.
The distance between the two sides is 19-1/8″. At 19″ some equipment might not fit in. This is very important!
I used pins to reinforce the bottom and top to the sides. Odd number of pins is more appealing than even. The pins are walnut dowels that I think are about 3/4″ long. Don’t use too much glue or the pins won’t go all the way in. I drilled for the pins after everything was glued up and assembled.
For gluing I used Titebond II. I honestly didn’t put a lot of thought into it other than this is the glue that the carpenter who runs the woodshop uses. It has a relatively short open time. Titebond III seems to have a longer open time and is supposed to be stronger. Maybe I’ll use it on my next project. Generally speaking, though, for a project like this, I think it’s better to stay away from a water-based glue.
I have a lot to say about the finishing. Basically right now my rack is wreck cosmetically and I’m very bummed about it. I’ll write a separate post about it later.
Some tips:
The Birch’s sides aren’t the same. What this means is that you want all the outside piece be from the same side of the birch. When I selected the birch I went for the stuff that’s the least warped. Then when I cut the pieces, I chose what would be the outside according to whether or not I liked the grain and if there weren’t any patches. If you’re going to the store to get some birch, pick a sheet that doesn’t have any patches on one side. Also make sure you like all the grain patterns on one side. Why is this important? Because when you finish it, the grain of the different pieces will look different. For instance, the top of main has very tight lines, but the sides don’t have that. It’s a real drag.
Practice clamping. A lot. At first I didn’t think I’ll be able to clamp it all up in under 5 minutes, but after 3-4 practices I was able to get all the clamps on in about four minutes.
Practice clamping the way you will glue it. I practiced with the two back aprons on because it helped with the alignment. However, I didn’t want to glue them in with the big pieces (long story), so then when I had the glue on, I couldn’t align it as easily. It ended up working alright with a diagonal clamp.
Use a router for the rabbets and do multiple passes. This can’t be done with a table saw. Also, you will dull the hell out of the router bit if you try to cut a whole rabbet in one go. My rabbets were 3/8″ deep, so I did 3-4 passes and then squared them with a chisel.
Set the depth of your rabbets before you begin routing. This one is a little tough to explain, but I’ll try. Say you want the rabbets to be 3/8″ deep. So you do one pass that takes about 1/8″ of material, then another, and then another. For the last one you want to measure the depth of the bit, and the best way to do it is with an adjustable square. However, you won’t adjust the square just the right way every time. I think it’s best to set the depth once and keep it this way. So don’t use that square for anything else. Same goes for measuring the distance from the bit to the edge of the router. This is how you figure out where to put the fence for the router. Set it once on a square and put it aside. Some of my rabbets were too deep and some of my aprons didn’t fit right. That’s why you want to do all this. Also:
Maybe it’s better to glue it all up and make the aprons. See above.
Swanson Speed Squares are awesome. Get two!
