This is an old repair that I never wrote about, but I learned a lot of important stuff from it, so I think it’s worth being documented.
My Guild F-30 was shipped with a cracked end block. I don’t know if it was cracked prior to shipping (bought it from Guitar Center’s used section, so not a lot of pictures), or if it cracked during shipping (the end pin wasn’t removed from the block). Anyway, it was cracked and I took my time figuring out how to fix it.
Frank Ford has a pretty good guide to fixing those cracks. I kept reading this one and going back to it. I think Frank Ford is the authority when it comes to guitar repair and I always try and follow what he does. I know his website looks rinky dink because it’s HTML, but the guy is a wealth of knowledge.
Now to the crack itself:
First a picture of the crack on the outside, taken right after getting the guitar.
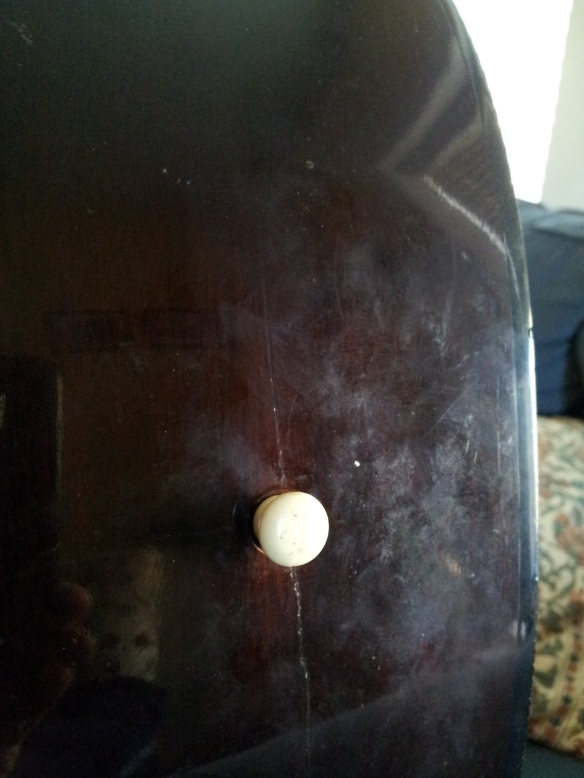
Not the best picture, but it shows what was up.
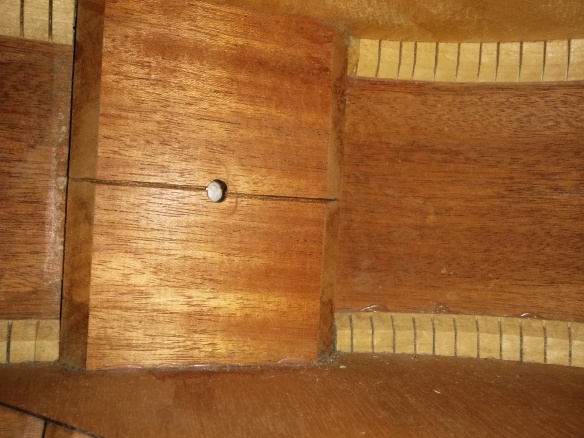
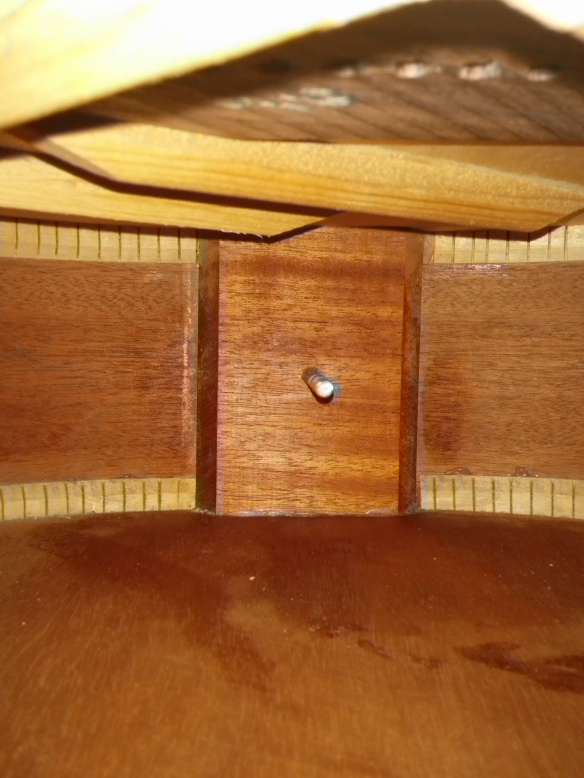
And the crack from the inside:
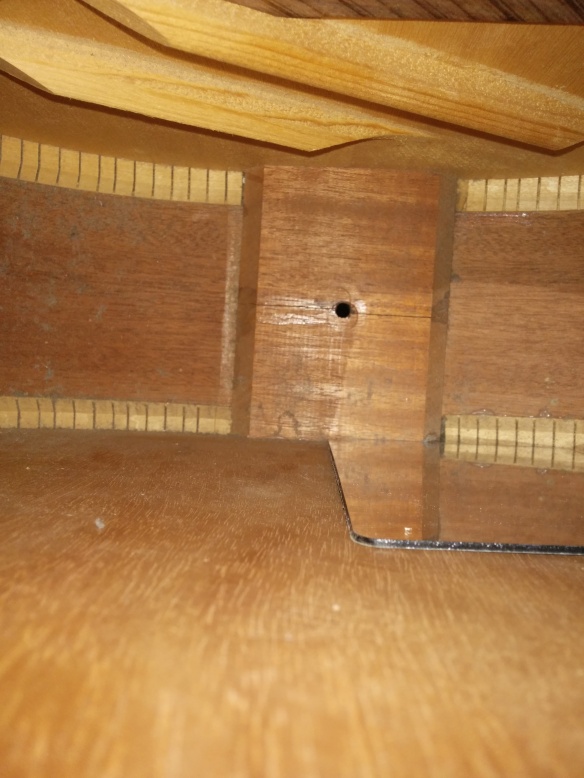
Notice that there are these streaks along the crack? These baffled me. They looked like that could be glue, but the crack was still open. Also, They seemed to be “on the surface”, so I figured that if it’s glue it’s not epoxy, which coat the surface, and is probably CA glue. It didn’t make sense for it to be anything but glue, because why would anyone smear something on the end block?
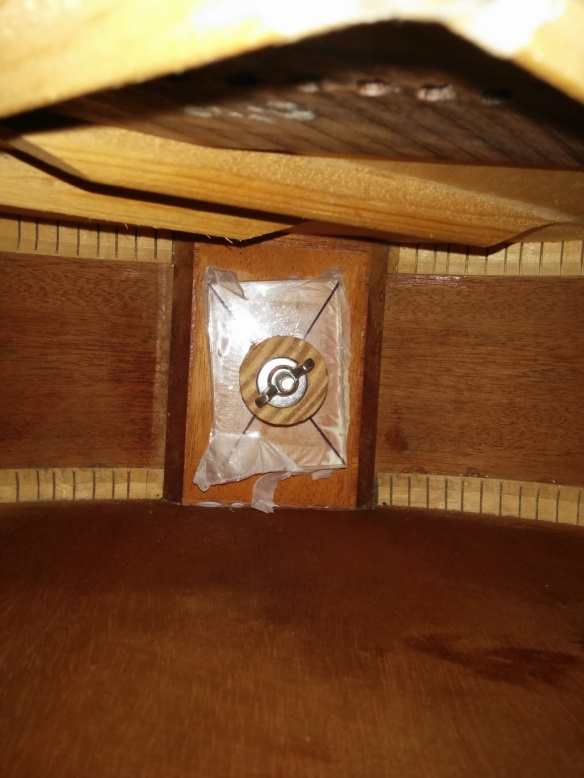
Removing the previous glue is important, because it would prevent the glue I’d be using to adhere to the wood. So I took some acetone, and very carefully got it in and swabbed the crack. The streaks are gone:

Notice the wax paper inside the guitar. I don’t need any acetone accidentally dripping on the sticker inside and ruining it. Same thing on the outside, I wrapped the top with parchment paper in case any dripped.
Ok, cool, so it’s superglue. Now I needed to remove it from the inside of the crack. The obvious candidates to getting inside the crack were q-tip (not that great) and brushes. I tried different brushes that I had around, but none were long enough and thin enough to reach the entire crack. So I went and got a really thin fan brush. I need to take a picture of it, but it fit in the crack easily. Just dip it in acetone and get in the crack. Like Frank Ford, I used a long clamp to push the end block inward so the crack would open.
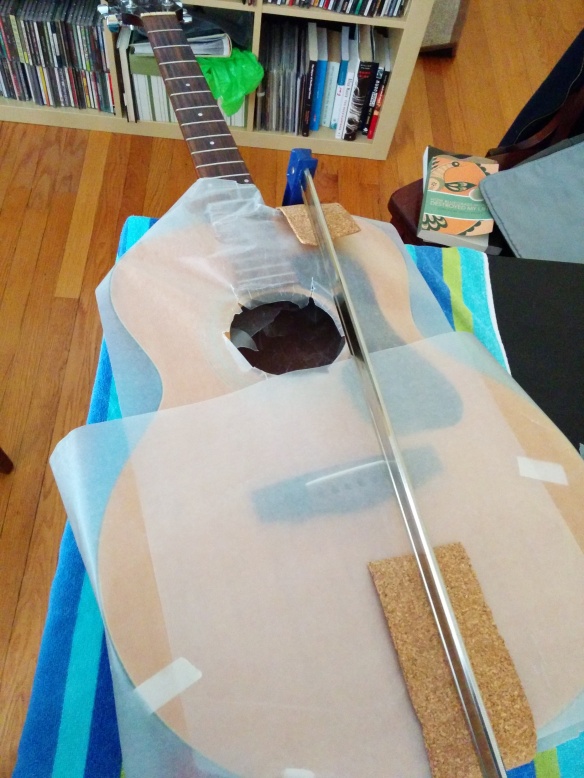
Checkout John Fahey’s How Bluegrass Music Ruined my Life, also parchment all over the top, and cork to prevent damage to the finish.
The crack is clean at this point, so it was time to figure out how I’d glue it. Like Frank Ford, I decided to use Titebond Original and reinforce the block from the inside.
I made a reinforcement patch with its dimensions matching the end block. The patch (as you can see in the picture) is beveled: on the top the beveling starts 2.3cm from the edge, and on the sides it starts 1.6cm from the edge. Honestly, I don’t think the amount of beveling matters that much. The piece is 1/8″ thick in the middle.
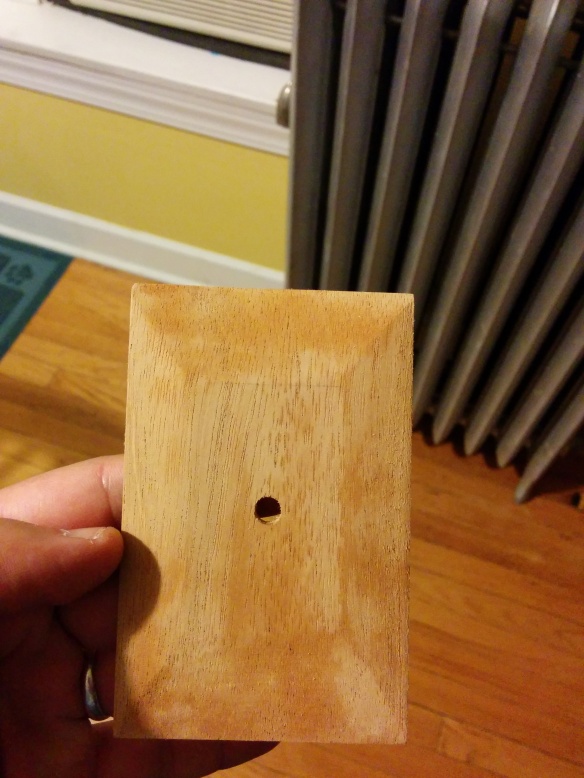
I forgot what piece of mahogany it is, but I got it from a lumber yard, and it’s real mahogany as opposed to whatever tree that looks like mahogany but isn’t.
For what it’s worth, this was my first time making a patch like that. I wasted a lot of mahogany trying to thin it. Shaping it was easy with sandpaper.
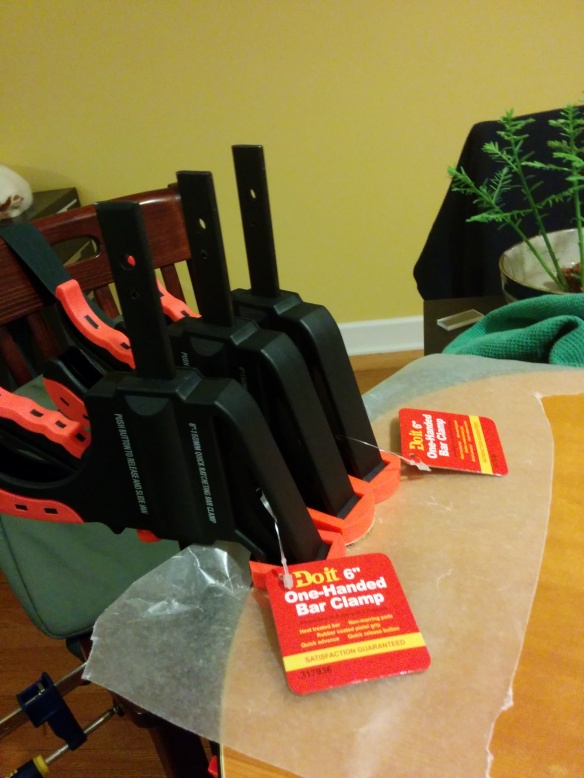
I experimented with clamping a bit. One spool clamp through the end pin hole, and thick acrylic cauls on the inside and outside. That was given, and also what Frank Ford does. Clamping it top to back wasn’t so obvious to me. I tried spool clamps, but they didn’t provide enough clamping pressure. Someone suggested trying quick clamps, and those did it – the crack was closed shut.
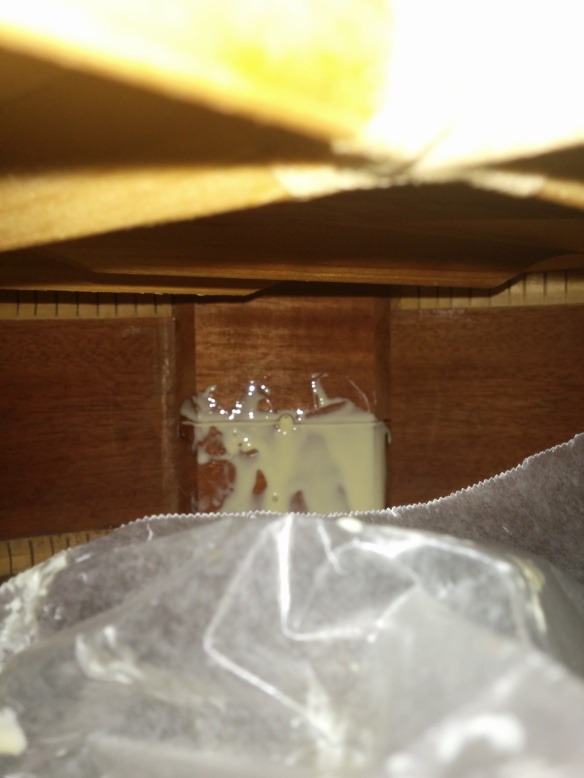
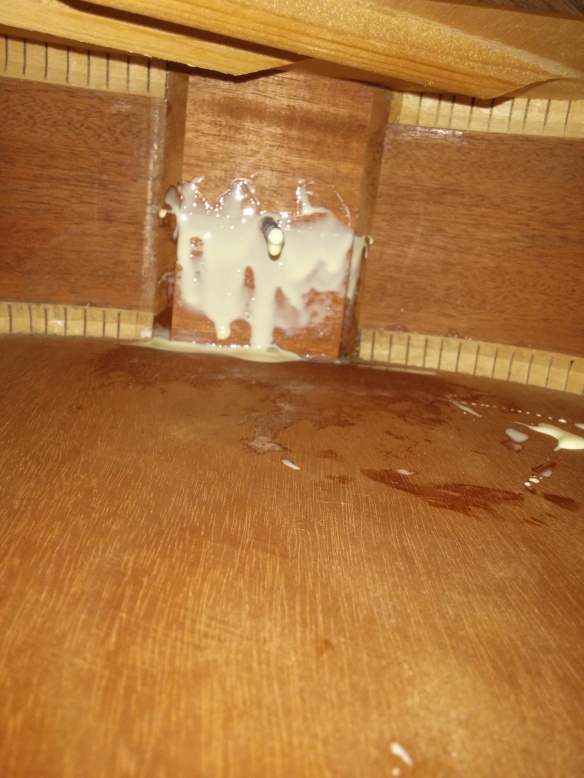
One way one could get the glue in the crack is using a filler gauge or palette knife, but what made most sense was get the whole bottle inside the guitar. I just aligned the glue bottle’s nozzle with the crack and squeezed. I got a lot of glue and got it all over the place. That was fine. It’s an easy cleanup.
Check out how much the crack was open when I pried it open with a clamp between the end block and neck block:
Whole lot of glue:
Spool clamp coming through:
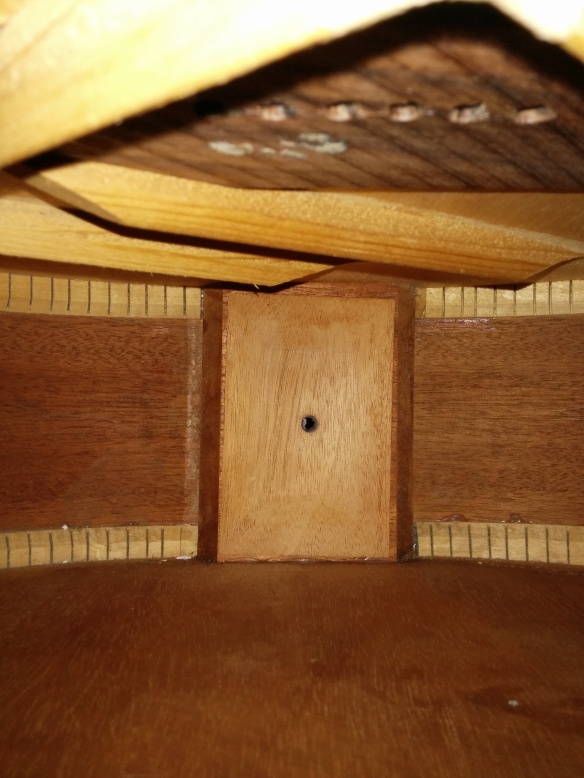
Nice and clean before the mahogany patch goes on:
Patch is on and clamped:
A word on getting the patch on: With a long threaded rod, the patch bumps against the braces and it’s impossible to get it on the block. What should be done is pull the rod back so it only sticks a little bit on the inside, then reach in with the patch, hold it against the block, and push the rest of the rod in. Then get the other end of the spool clamp on, and tighten the wingnut. Yeah, I bet if you read this now you wonder why is the wingnut end is on the inside. It’s not easy tightening it from the outside with the quick clamps on.
Here’s what it looked like from the outside:

And one more after it dried for about a day.
I think I did a good job!
